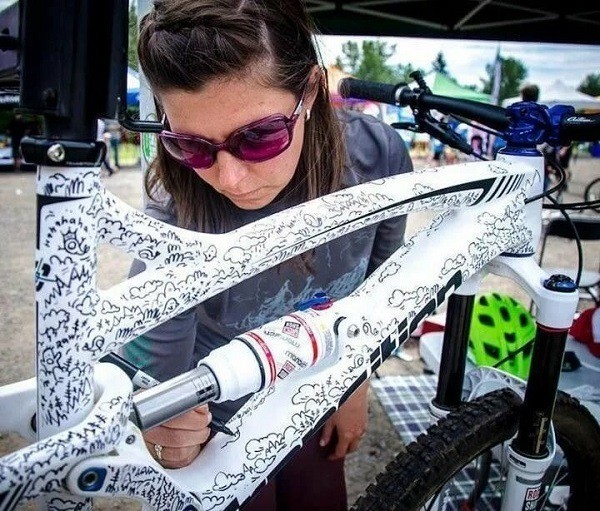
Airbrushing on a bicycle is a great way to stand out from the crowd and show your personality. It makes your bicycle unique and distinctive. It begins to convey the feelings and emotions of its owner and makes him or her happier.
For many people their bicycle is more than just an ordinary means of transport. For cyclists, it becomes a kind of reflection of their lifestyle.
We all strive for individuality, we want to show our uniqueness and singularity. In this case, we should not forget about our two-wheeled friend. To make your bicycle represent your inner world, modernize it and adjust it to you.
History of the origin of airbrushing
Airbrush is a special technique of depicting on a smooth surface with a special device called an airbrush.
Its operating principle is to atomize a colored liquid, reminiscent of the action of an ordinary spray gun. With its help drawings are applied to cars and bicycles, motorcycles and helmets. They give an ordinary conveyor item its own face, expressing the “self” of the owner.
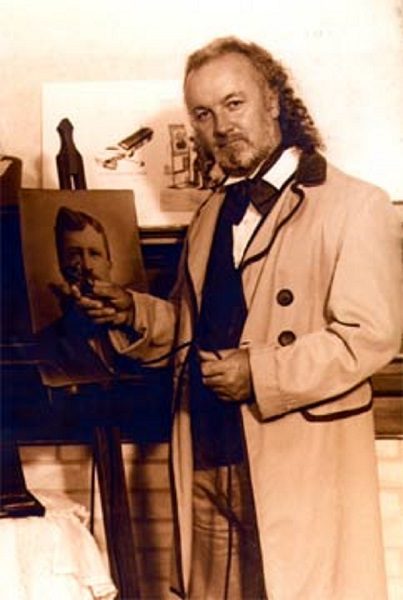
The art of airbrushing emerged in the 80s of the 19th century. The first airbrush was invented in 1879 by an American artist named Ebner Peeler. Then the rights to the technology were bought out, and airbrush drawings entered the masses.
The nuances of airbrushing a bicycle
Before you start decorating with your own hands or with the hands of a master bicycle parts, it is worth taking into account a few nuances:
- Take the choice of airbrush seriously, as its quality will directly affect the quality of the resulting drawing.
- Make preparations before spraying the first layer of paint.
- Take a good hard look at the design. You can not fit too complicated and ornate design on a bicycle.
- Decide on the area you want to apply it to. Choose which parts you want to decorate: the frame, wheels, fenders, handlebars and so on.
- Treat the surface with varnish after priming and painting. This way your hand will save your future drawing.
Compliance with all recommendations will give you the best result. The airbrush will be done at the highest level, and the drawing will not be damaged by contact with water or dirt.
What does the quality of the drawing depend on
The services of a master airbrush will cost a pretty penny. Therefore, most often bicycle enthusiasts decorate their bike on their own and make a drawing on the bike, using high-quality equipment. The process of creation is not difficult, there is no need to run straight to the master.
In order not to spoil the bike, but only to improve it, take seriously the choice of materials and equipment. It is worth studying their list, it will help us to understand their functions and features faster.
Needed equipment
The choice of bicycle coating is limited to the purchase of an airbrush, paint and stencils. Your artistic ability is, of course, important when creating a drawing. But more attention should be paid to finding quality equipment, because without it you will not be able to convey them fully.
What equipment do I need for my work?
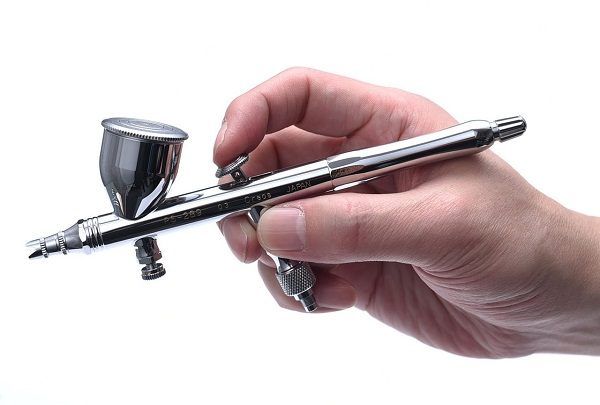
- Airbrush. Choose one with a diameter of 0.3 mm and with a side or top blowing. Pay attention to models with a double principle of action, such are designed for material and air supply.
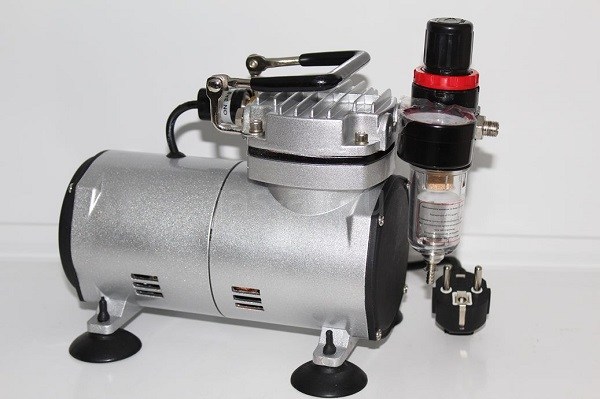
- Compressor. It is needed to supply gas or air to the airbrush. The main criterion when choosing is the performance. It is recommended to pay attention to the JAS compressor, it is well proven in the market. Has a high performance and low noise level.
- Paint. The most common in the application – on a solvent basis. It perfectly combines low cost and durability. Also, such a layer of paint dries quickly.
- Stencils. You can find their great variety on the Internet. Save, download and print them for work.
If you’re out of ideas and need inspiration, use online groups and forums.
Preparatory work
Preparation before applying the design includes the following sequential steps:
- Matting – creating small ribs on the working surface of the bike, this is necessary for better paint penetration. Use an abrasive sponge.
- Priming – Apply specialized primer to the matted surface. Allow it to dry completely. This will take 12 hours.
- Degreasing – clean the primed surface with a special solution using wipes. It is necessary to degrease twice:
-
- Before applying paint after priming.
- After the airbrush design.
Step-by-step instructions for drawing
After preparing the surface of the bike, begin the basic steps of creating an airbrush:
- Alignment. The primer must be leveled before applying the paint. Use sandpaper.
- Setting up the tools. Connect the airbrush to the compressor with a hose. Blow out the hole. To check, spray paint on a non-working surface to be sure the tools are ready.
- Stencil Test. Apply the printed stencil and make sure the dimensions are accurate.
- Applying the paint. Start with the background of the drawing. Next, using the stencils, create your unique design. Each coat of paint should dry completely before applying the next. Also, blow the airbrush hole before each new color so the colors don’t mix.
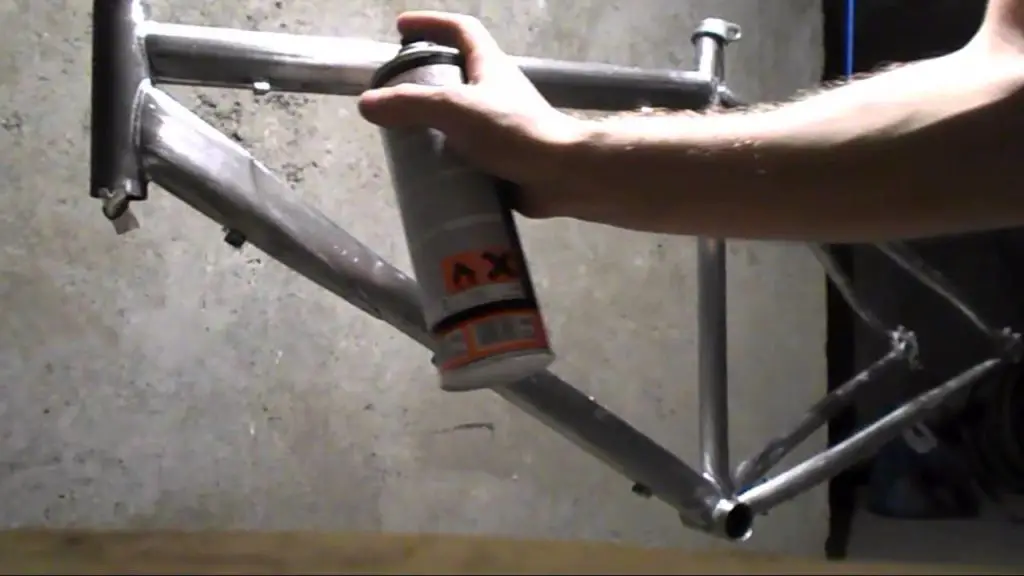
- Varnishing. Apply a coat of varnish to protect the design from external influences. Otherwise, the design will not last long and may fade. It is better to use varnish, which contains solvent. Leave the lacquered surface to dry for a full day.
Afterwards, airbrushing on a bicycle does not require any special care. It is enough to avoid scratches and contact with solvents. And then it won’t need any repairs.
Instructions for stenciling a bicycle
To apply an intricate design to the surface of a bicycle, you will need a stencil. To make one, take:
- stencil film;
- cutting knife;
- surface on which to cut (alternatively, specialised cutting mats).
The process of creating a stencil:
- Place the stencil film on the stencil surface.
- Use a pencil to trace the design onto the foil.
- Cut out the necessary parts with a knife.
How to use it intelligently?
- Glue the cut portion of the film to the bicycle work surface.
- Spray with paint. The places where the stencil paper is glued will be protected.
- After the paint dries, carefully remove the stencil.
Thus, you will have a complex pattern with clear design elements.
The specifics of painting bicycle wheels
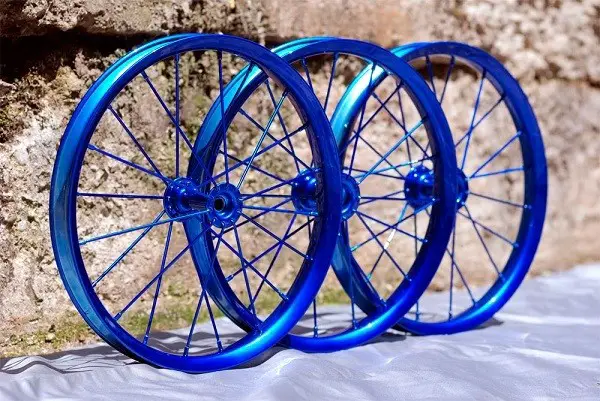
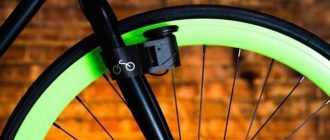
To make the bike stand out from the crowd, you can make a unique design not only on the body or on the fenders, but also on the wheels.
The main features are in the painting of the wheels:
- You need to protect the brake part, such as covering it with duct tape.
- Pull out all the spokes before applying the paint. If desired, they can be painted separately.
Drawing on a bicycle helmet
Not all amateurs use a bicycle helmet. Most often it is perceived as an accessory, not realizing its importance. It is especially problematic to persuade a child to wear one. To make the helmet perceived not as a punishment, but as an attribute of “coolness”, put an airbrushed pattern on it. Let it be in the same color scheme as the drawings on the bike itself.
The peculiarity of airbrushing a helmet is that you do not need to use primer. That means the whole process will be easier and take less time.
The patterns popular among bicycle enthusiasts
Now that the technical side is taken care of, let’s talk about the aesthetic part. After all, the most important thing is the resulting pattern on the bike.
To find inspiration, check out what patterns are popular with cycling enthusiasts:
- Lines – a symbol of movement and life. They can be different in thickness, color and direction.
- The symbolism of fire – the embodiment of passion, courage, desire, eternal energy, the desire to win.
- The element of the sea with the image of waves is a symbol of freedom, independence, tranquility and appeasement.
- Plants are a sign of continuation of life, eternity, as well as love and unity with nature.
- Animals are the most common. Most often a wolf, owl, horse, snakes and dragons are used. Here, each animal has its own interpretation.
- The name – the application of his own name, as a way to show the belonging of the beloved thing.
Masters of airbrushing take on even such intricate elements as portraits of famous personalities or comic book illustrations.
Conclusion
The airbrush on a bicycle with your own hands is not as difficult to make as it may seem at first glance. The main thing is to approach responsibly to the choice of tools and choose a design.
It can be a real masterpiece, expressing the uniqueness of your soul. And also a thing to be proud of. It’s nice to know that you created this beauty on your pet.

